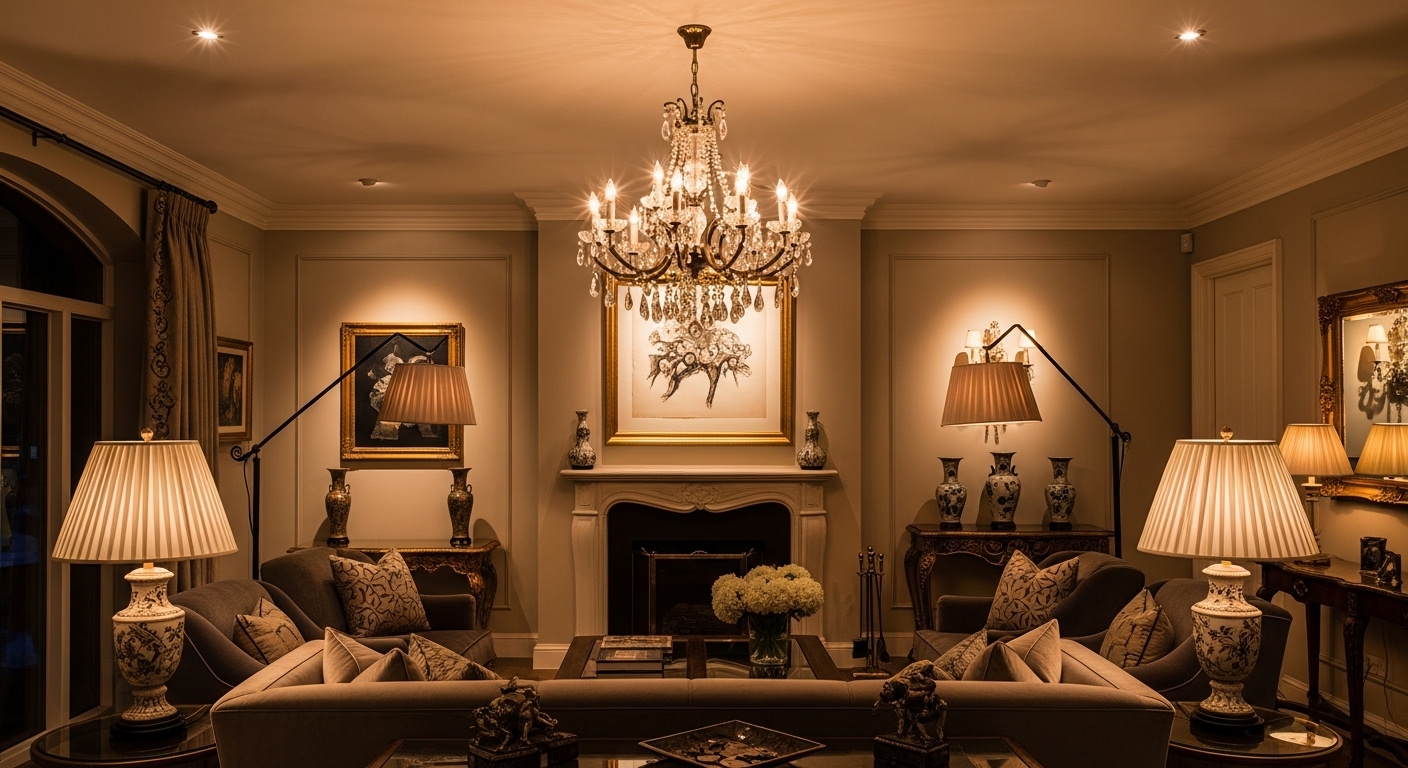
Expensive-looking living rooms rarely have “one bright ceiling light.” They feel good because the light is layered, warm, and aimed—so your eyes relax instead of squinting. The best part: you can get that high-end vibe without remodeling, just by setting up light the way designers do.
This is a practical, real-life guide—no links, no product pushing.
The designer rule: stop relying on one overhead light
If your living room feels harsh, it’s usually because:
- the ceiling light is too bright or too cool (blue-ish)
- light is coming from one direction (flat shadows)
- bulbs are bare or exposed (glare)
The fix is simple: build layers so the room glows instead of blinding.
Step 1: Pick the “expensive” bulb vibe (warm, not yellow)
Aim for warm white
- For a cozy, upscale look, warm bulbs usually feel best.
- The goal is warm and soft, not “orange cave.”
Quick test I use at home
At night, turn off everything except one lamp. If the light makes:
- your skin look gray/green → too cool
- everything look orange → too warm
- your room look calm and flattering → you’re in the sweet spot
Match bulbs across the room
Mixed bulb tones (one cool, one warm) is a fast way to make lighting feel cheap. Keep the room consistent.
Step 2: Layer lighting in 3 levels (the secret sauce)
Designers typically use three layers:
1) Ambient (overall glow)
This is the room’s base light—soft, not intense.
- Examples: floor lamp bouncing light off a wall, shaded lamp in a corner
Goal: the room is bright enough to walk around without the overhead light.
2) Task (for doing things)
This is for reading, working, puzzles, snacks, etc.
- Examples: reading lamp next to the sofa
Goal: light where your hands/eyes are, not the whole room.
3) Accent (the “expensive” layer)
This is what makes the room feel styled.
- Examples: light aimed at a plant, shelf glow, art highlight
Goal: create depth and visual interest.
Real-life tip: Even a basic room looks elevated the moment you add accent lighting.
Step 3: Use the “triangle method” for lamp placement
A common mistake is putting both lamps at the same height or in the same zone.
The triangle method
Place 2–3 light sources so they form a rough triangle around the room:
- one taller (floor lamp)
- one mid-height (table lamp)
- one low or directional (accent)
This creates depth and avoids the “single spotlight” feel.
Step 4: Kill harsh glare (this is where the luxury feeling comes from)
Harsh glare usually comes from:
- bare bulbs you can see directly
- shiny surfaces reflecting a bright source
- too much overhead light
Fixes that work immediately
- Use shades or anything that diffuses light (even a frosted cover helps).
- Aim light at walls, not at your face. Wall bounce = soft glow.
- Avoid eye-level exposed bulbs near the couch.
- If you have a bright ceiling light: use it only for cleaning, then turn it off.
My experience: The moment you stop seeing the bulb directly, the room feels calmer and more expensive.
Step 5: Make it dimmable (or at least “mood adjustable”)
High-end rooms change brightness depending on the moment:
- bright for hosting or cleaning
- medium for everyday
- low for TV/movie time
If you can control brightness easily, you’ll actually use layered lighting instead of flipping the overhead light every time.
No-fuss habit: Keep one lamp as your “default” and everything else as optional layers.
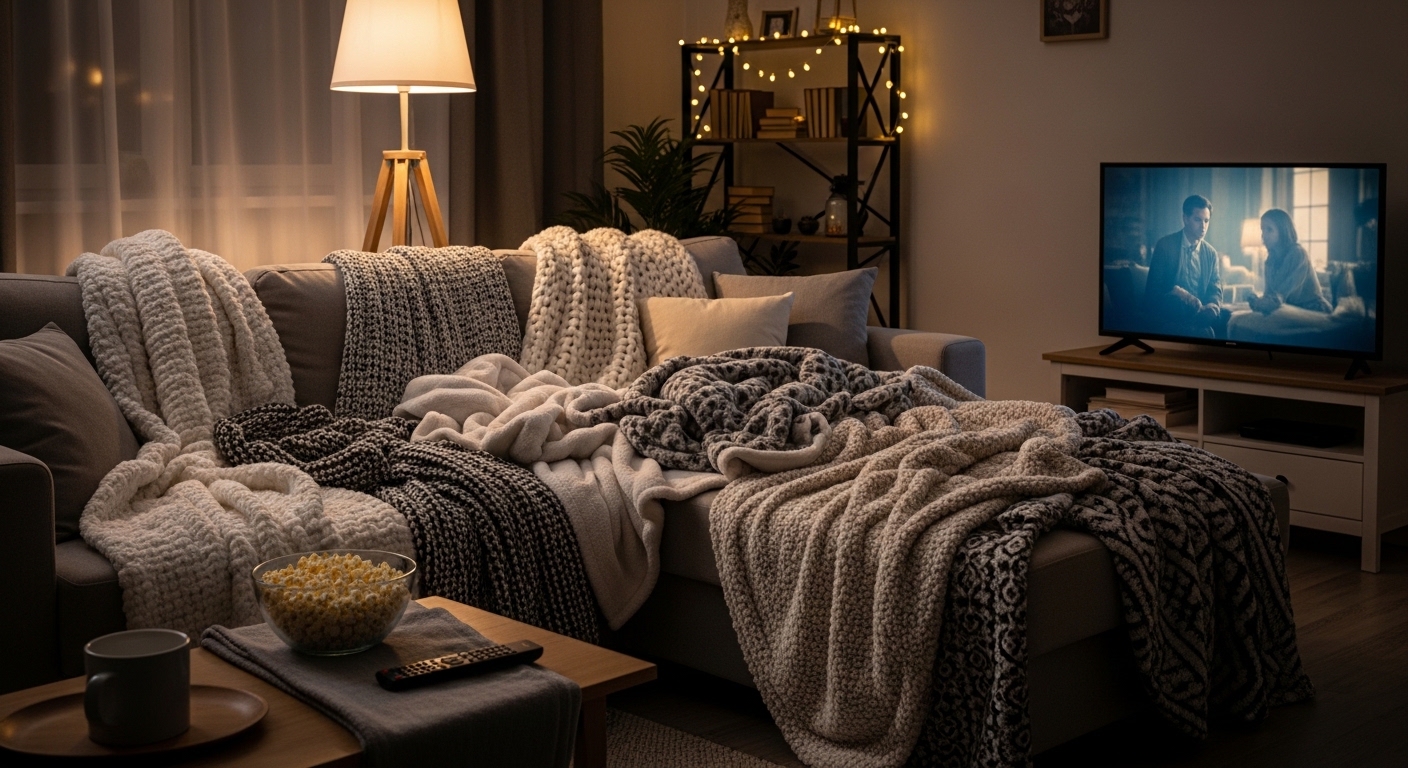
Step 6: Lighting for TV time (no reflections, no eye strain)
For movie nights, the goal is soft bias lighting, not darkness.
What works best
- A lamp behind or beside the TV area
- Light that hits the wall, not the screen
- Low-to-medium brightness, warm tone
What to avoid
- A lamp pointed at the TV screen (glare city)
- Pure darkness (your eyes work harder)
- Bright overhead lighting (kills contrast)
Quick living-room lighting recipes (easy to copy)
Recipe A: Small apartment living room (minimal but expensive)
- 1 floor lamp in a corner (ambient)
- 1 table lamp near sofa (ambient/task)
- 1 small accent light at a plant/shelf (accent)
Recipe B: Standard living room (balanced)
- 2 lamps on opposite sides of the room (ambient)
- 1 reading/task light by main seat
- 1 accent light aimed at art or texture wall
Recipe C: Open-concept living + dining
- Living room: layered lamps (ambient + task + accent)
- Dining: separate warm light source
Key: don’t let one overhead light “wash out” both zones.
Common mistakes that make lighting feel cheap
- Only overhead lighting
- Bulbs too cool/blue
- Light sources all the same height
- Seeing bare bulbs from the sofa
- Too bright near the TV
Fix any two of these and your room will look dramatically better.
FAQ (SEO-friendly)
What lighting makes a living room feel expensive?
Warm, consistent bulb tone + layered lighting (ambient/task/accent) + no visible glare.
Is it better to have more lamps or brighter bulbs?
More lamps, softer light. Layering looks richer than one bright source.
How do I stop lighting from feeling harsh?
Use shades, bounce light off walls, avoid exposed bulbs at eye level, and reduce overhead lighting.