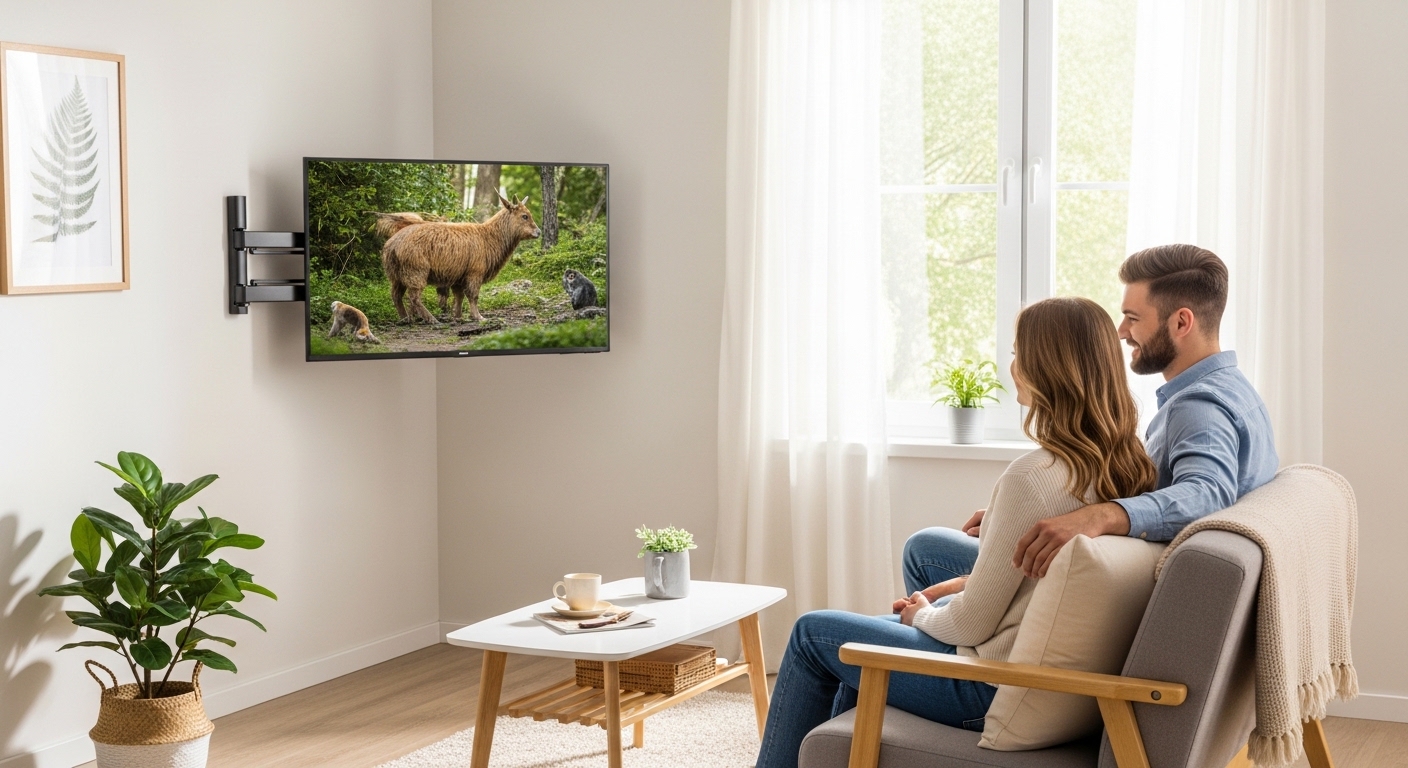
A wall-mounted TV looks amazing… until you see the “cable waterfall.” The trick is choosing a route that’s clean, safe, and easy to live with—not a one-time setup that becomes a nightmare the first time you add a device.
Here’s a practical, no-regret plan I use to hide cables without turning your wall into a regret project.
The “No-Regret” Plan (do this before you stick anything to the wall)
1) List what must connect to the TV
Most setups need some mix of:
- TV power
- HDMI (streaming box, console, soundbar)
- Optional: Ethernet, antenna/coax, optical audio
2) Decide where everything will live
Pick one “home base”:
- Behind the TV (only if devices can mount there and still get airflow)
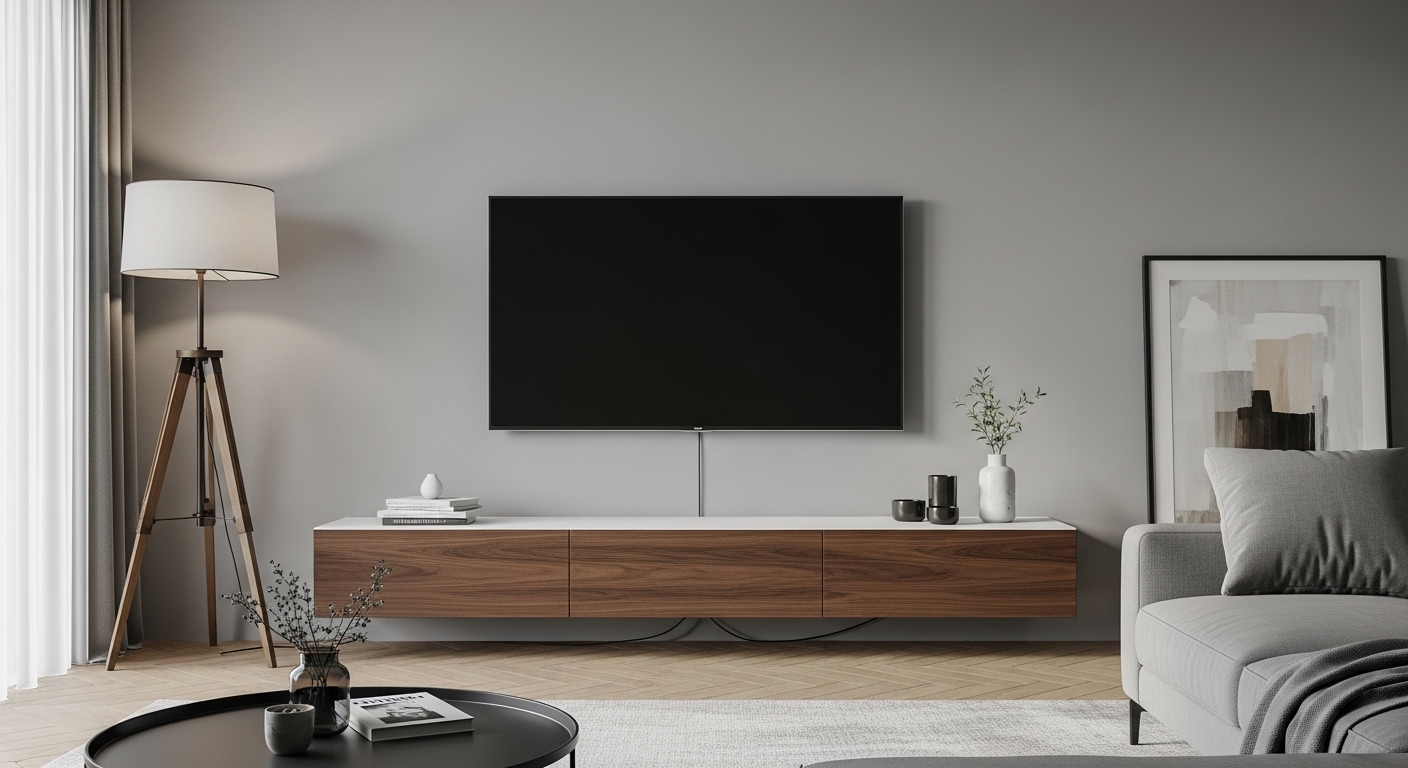
- In/behind a media console (most common and easiest)
- In a side cabinet (clean, but may need longer cables)
3) Choose one cable path (don’t improvise mid-way)
You’ll usually pick one of these routes:
- No-drill / renter-friendly
- Surface route (cleanest without opening walls)
- In-wall route (cleanest overall, highest commitment)
4) Do a quick dry run
Before mounting anything permanently:
- Hold the TV bracket position with painter’s tape
- Place the console where it will stay
- Confirm cables actually reach (with slack)
This single step prevents “almost perfect… except one cable is 6 inches short.”
Route A: The cleanest renter-friendly method (no drilling, no wall opening)
Best for: apartments, rentals, frequent device swaps
How it works
You guide cables down the back of the TV/stand and into the console using simple, removable management.
Steps
- Bundle by destination
- One bundle going to the console (HDMI/Ethernet)
- Keep power separated as much as practical
- Run cables straight down behind the TV
- Anchor the bundle to the back of the TV (strain relief)
- Hide the slack inside the console
- Leave a small service loop (a little extra length) so you can pull devices out without yanking ports
Real-life tip
Most “mess” is actually excess cable length. Coil slack into neat loops inside the console, not behind the TV.
Route B: Surface route (the best mix of clean + safe)
Best for: you want a “professional” look without opening walls
The idea
Use a slim surface channel (raceway/cord cover) and run cables:
- straight down to a console, or
- sideways to a corner, then down (often looks cleaner)
Steps
- Mark a straight vertical line from TV to console (level matters)
- Plan turns using gentle corners (sharp bends look sloppy and can stress cables)
- Mount the channel and snap cables in
- Paint the cover to match the wall (optional but makes it disappear)
Pro tips that make it look designer
- Run the channel centered behind the TV, not “close enough”
- Keep it one channel instead of multiple tiny lines
- Hide the channel behind a soundbar or console edge when possible
Route C: In-wall route (cleanest look, but do it the safe way)
Best for: homeowners or long-term setups
The biggest safety rule (important)
- Don’t run a standard TV power cord inside the wall.
Power-in-wall typically needs proper in-wall wiring methods. If you’re unsure, hire a licensed electrician.
What you can usually run in-wall safely
- Low-voltage cables like HDMI, Ethernet, coax (using in-wall-rated versions is ideal)
The safest in-wall plan (no regrets later)
- Choose two wall exit points:
- Behind the TV
- Behind the console
- Keep low-voltage cables organized and accessible
- Keep bends gentle, avoid crushing cables
- Label both ends (future-you will thank you)
Real-life tip
In-wall looks perfect—until you change a device. Make sure your setup lets you pull a new cable later without opening the wall again.
Safe mounting & cable habits that prevent headaches
1) Strain relief = fewer broken ports
Always secure cables so the TV’s HDMI ports aren’t carrying the weight of hanging cords.
2) Don’t block ventilation
If you stash devices behind the TV or inside a cabinet, leave airflow space. Overheating causes random glitches and shortens device life.
3) Keep cables away from heat and pinch points
Avoid:
- getting crushed by the TV mount arms
- being pressed tight against a sharp bracket edge
4) Separate “signal” cables from power when you can
It reduces interference risk and makes troubleshooting easier.
The “5-Minute Clean Reset” (for real life)
If cables are already a mess:
- Unplug everything
- Sort into piles: power / HDMI / audio / network
- Reconnect one device at a time (test each)
- Bundle neatly and hide slack in the console
- Add labels: “TV,” “Soundbar,” “Console,” etc.
Common mistakes (and quick fixes)
Mistake: Cables hang in a curve
Fix: Route in a straight vertical line and secure at two points (top + bottom)
Mistake: Too much slack behind the TV
Fix: Move slack to the console and keep only a small service loop near the TV
Mistake: Everything bundled into one thick snake
Fix: Make two bundles (signal + power-ish) so it lays flatter and looks cleaner
Mistake: You can’t access anything without pulling the TV
Fix: Build in slack and label ends so swaps are easy
FAQ
Should I route cables straight down or to the side first?
Straight down is simplest. Side-to-corner can look cleaner if your console isn’t centered under the TV.
Is it worth going in-wall?
Only if you’re staying put and your setup won’t change often. If you swap devices a lot, surface routing is the “clean + flexible” winner.
How do I keep it looking clean long-term?
Label cables and keep slack in the console. Most messy setups happen during the second device upgrade—not the first install.